You might also like…

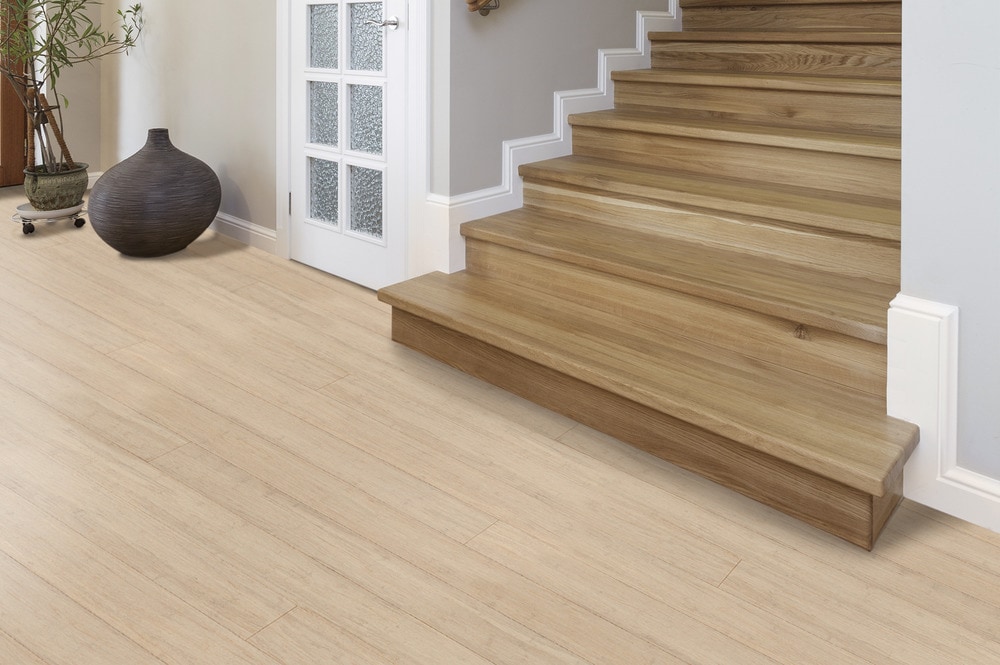


Are you wondering whether you can put vinyl flooring over wood or tile? Well, you’ve come to the right place. Many homeowners love a home with natural hardwood floors. Some homeowners love the sophistication and clean lines of perfectly laid porcelain or ceramic tile. There’s a new player in town that is getting a lot of attention and gaining popularity fast – and that’s vinyl.

Maybe hardwood floors require too much maintenance. Perhaps those old tiles are looking dated or need to be fixed. Whatever the reason, many homeowners are considering vinyl flooring as an optimal and affordable replacement for their new floors. And the best part? You can install vinyl planks right over wood or tile – here’s how.
Installing Vinyl Flooring Over Wood

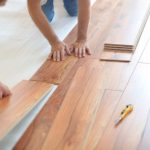
Vinyl flooring can be installed on most types of subflooring, including pre-existing hardwood. Of course, it’s not always a simple process. When you’re installing vinyl planks, it’s important to have a smooth and seamless surface, more importantly a flat and level subfloor.
That means that you may have to replace or fix certain areas of the wood that are particularly uneven or damaged. It may require a bit of work, but it’s totally possible. Here are the steps you should follow for installing vinyl flooring over wood.
Precautions
Before you get started, you should take these precautions to ensure a smooth installation. Preparation and planning are critical for successful flooring projects. If you’re installing over existing wood floors, make sure they’re securly fastened and not creaking. Any and all subfloors need to be properly sealed before installation.
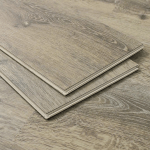
There are a couple of options for vinyl plank. The two with the most straightforward installation are peel-and-stick and click lock.
Peel-and-stick tiles are relatively straightforward to install, but you’ll need to be sure of where you place them because they adhere instantly. That’s why planning out your layout beforehand is so crucial.
The other option is click lock. Some click lock varieties are actually called “floating tiles” because they’re made to float above other floors. These planks click together via tongue and groove, and you use a rubber mallet to secure each joint. They don’t require any adhesive. The most challenging part of the install is when you use a utility knife to cut the edges and corners to fit.
Whether you’re doing peel-and-stick or click lock, the installation process is very similar. The main difference is the peel-and-stick adheres to the floor, and the click lock locks into place.
Have all your tools and supplies available and easily within reach. You should also have a face mask available so that you don’t inhale any fumes. Once you’re ready to begin, remove all the baseboards along the walls. After the baseboards are gone, thoroughly clean the floors. Any leftover dirt, dust, or debris can prevent a tile from sticking to the floor properly.
Installation Steps

Once you’re prepped and ready to go, you should follow these installation steps:
- Sand down the wood until the surface is smooth and even. You need to remove any rough areas or bumps. You may have to do this several times before you get the desired result.
- Remember to clean up all the sawdust and dirt you’ve accumulated during the sanding process.
- If you cannot get everything perfectly smooth and even, you may need to lay plywood sheeting over the hardwood floors to ensure a smooth surface.
- Working from the center of the room, measure the distance to the center points of the four walls. Use chalk to draw straight lines. This will enable you to divide the room into four quadrants.
- Starting at the center point, start laying tiles in one of the quadrants. Don’t move into another quadrant until each one is finished (not including the edges).
- There will be gaps between the last tiles and the walls. Trim and cut tile pieces to fill in those spots. It’s essential to make them fit seamlessly. Remember to match the pattern you’ve used already for the rest of the room. You can use shoe molding or baseboards to hide any remaining gaps.
- Reattach the baseboards, and you’re done!
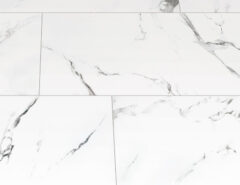
Installing Vinyl Flooring Over Tile

If you’d like to know how to install vinyl flooring over tile, you’re in luck. The process is slightly different with tile than it is with hardwood, but it’s similar. As with any flooring installation, the complexity of the process varies, depending on the floor in question.
Precautions
The precautions for installing vinyl over tiles are similar to the precautions for installing vinyl over wood. To install vinyl, you’re going to need a clean and smooth surface. That means you’ll have to get rid of any cracks and seams. To do this, you’ll need to fill all the grout lines until they’re flat and level. Keep an eye on moisture-content as well because too much moisture in your grout can affect your vinyl plank installation’s success.
You’ll also want to make sure you have all of your tools and supplies ready and easy to reach before you start. Remove all the baseboards, cleaning the room meticulously as you go. You don’t want to leave behind any dirt, dust, or debris. Once that’s done, you can jump into the installation process.
Installation Steps

Once you’re prepped and ready, you should follow these steps:
- Fill in the cracks and grout lines between the tiles with thin-set mortar. You can apply this simply with a putty knife. Try to apply this material as smoothly as possible. Remember, you need the surface to be seamless and even for the vinyl flooring to set properly.
- After giving the mortar adequate time to dry, sand down the rough and uneven spots with a sander or sandpaper. Make sure the mortar and tiles are completely level.
- Sweep and clean the floor of all mortar debris. Again, diligence is vital during the cleaning process.
- Now you can start installing the vinyl planks!
- Starting at the center of the room, measure the distance from each wall to the center point. This will help you establish the measurements of the room and aid in the installation.
- Divide the room into four quadrants. Starting from the center, install one vinyl plank at a time until each quadrant is finished (not including the outer edges).
- Once you’re finished with the four quadrants, cut and trim the leftover tiles to fit the spaces left behind.
- Reattach the baseboards, and you’re good to go!
Simplify Your Installation with BuildDirect
Whether you’re a DIYer or a professional contractor, installing vinyl flooring over wood or tile is definitely possible. It’s actually pretty simple. Just remember to make a plan, take your time, clean as you go, and carefully follow each step we laid out in the step-by-step guide above.
If you’d like to simplify your installation process, consider BuildDirect for all of your flooring needs. We offer top-of-the-line, affordable vinyl plank flooring in a variety of colors and styles. Become a PRO Rewards member and you’ll get exclusive access to amazing deals, 5% credit, on-site delivery, and so much more. Become a PRO today!

 (6 rating, average rating is 2.17/5)