When it comes to the hottest trends in home design, herringbone tile is making a comeback. This classic pattern gets its name due to the angular design that resembles the shape and bone structure of herring fish. Whether it’s swirling marble, porcelain, or wood, the herringbone trend looks stunning in any environment. From the floors to the walls, it’s easy to create a gorgeous herringbone look you’ll love for years to come.
Uses for Herringbone Tile
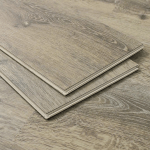
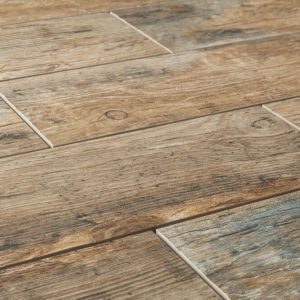
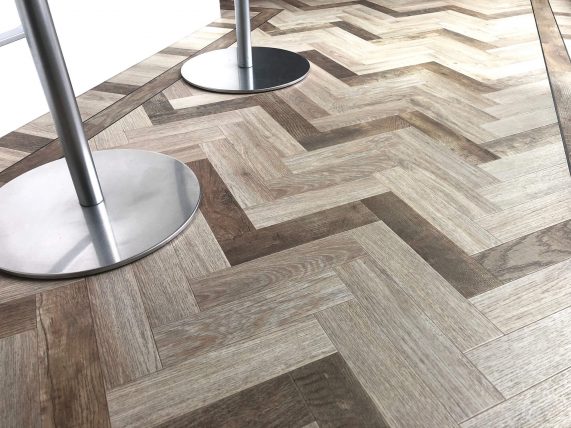
Due to its versatile design, you can easily apply herringbone tile to the floors or walls. Be careful about which type of tile you choose, since different materials are designed for different applications. If you adore the idea of wood herringbone tile, consider installing some gorgeous wood-look tiles made of porcelain. This tile mimics the aesthetic of wood, but it’s much more durable and usable for areas with a lot of moisture like kitchens and bathrooms. Make sure you check the rating of your tile before you install it to ensure that it’s suitable for floors or walls. Once you decide on a material, you can start to plan out your color scheme and patterned design.
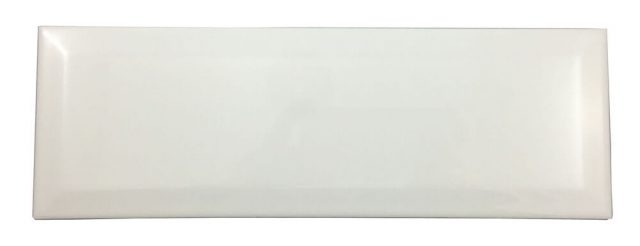
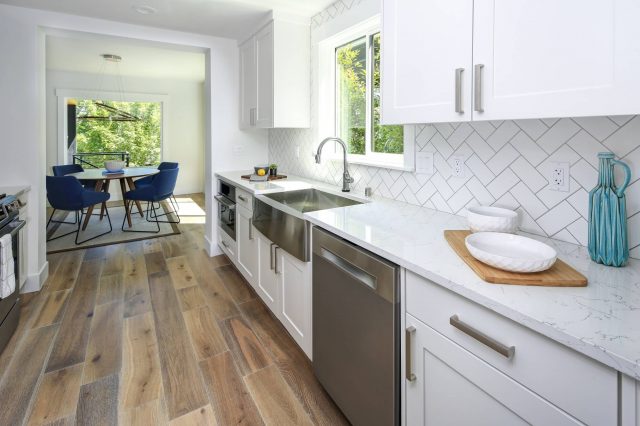
Applying herringbone tile makes for a gorgeous upgrade to your kitchen backsplash. Choose subway tiles or glass tiles to create a striking accent in your kitchen that offers a modern touch and easy cleanup. When you apply your tiles, you can use prefabricated sheets of small tiles, or you can make your own herringbone pattern using a subway tile or larger-sized tiles. The type and size of tiles you choose will depend on the amount of wall space you have if you’re applying it to the walls. For floors, you have a bit more leeway when it comes to your preferred tile style and dimensions.
Tips and Ideas for Herringbone Patterns
When you’re ready to start your project, keep in mind that laying out a herringbone pattern takes a good amount of planning along with precise, accurate measurements. Regardless of whether you’re applying it to the walls or your floors, you’ll want to draft out a pattern in advance. You can choose between a 90-degree herringbone pattern or the classic diagonal design. The 90-degree pattern is a bit more geometric and rigid, which is a good option if you’re aiming for a modern aesthetic. To ensure an elegant look, consider the diagonal pattern instead. This option evokes a timeless look and feel that will add a luxe touch to the room.
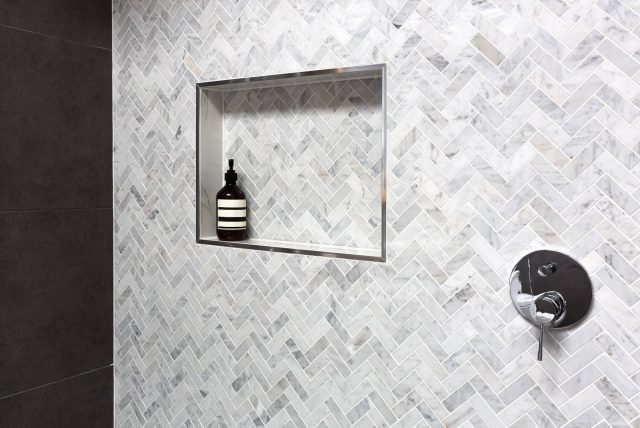
For floors, consider something made of durable porcelain in a rich wood-like design. This material and finish will give your home the warmth of wood without all of the extra maintenance that’s normally required of hardwood flooring. You don’t have to install your herringbone tile in a single, monochrome color. Consider installing tile boasting several tones such as ranges of grays or blues. This style will bring visual depth and dimension to any room along with an assortment of color. A perk to installing herringbone tile is that it looks great whether you use one color or many, so play around with a few different options until you find the look that’s right for you. Mosaic tumbled tile made of marble will give your herringbone floors or walls a multidimensional look.
Tools You’ll Need and Installation Tips
If you’ve decided that herringbone tile is right for your home, make sure you know how to choose a tile floor before you begin the process. Whether it’s new flooring or a kitchen backsplash, this tile takes some time, skill, and patience to install. Decide on the material, color selection, style, and layout of your herringbone tile in advance to make the process easier. Once you have all the tile you need, you can determine the direction of the pattern for your walls or floors. Some herringbone tile comes in small pieces attached to a mesh backing for easy installation. If you’re using larger tiles like subway tile, make sure you plan out the pattern in advance and lay everything out before you begin.
Here are the tools you’ll need to install your new tile along with some helpful tips to make the process easy.
Mortar
You can find mortar at most home improvement stores. This material must be mixed with water, and it’s important to be sure you choose the correct type of mortar depending on your needs. Mix it thoroughly and apply it in small sections as you go.
Trowel
This small tool helps you apply and spread the mortar onto your floors or walls. Scoop some mortar out of a bucket using the trowel, then slowly apply it “tooth side” down in slow, gentle sweeping motions. The type of trowel you need will depend on the thickness of the mortar you use.
Wet Saw
You’ll need to cut some pieces of tile to make everything fit, so use a wet saw to help you get the job done quickly. Always wear eye protection and gloves when using the saw, and take your time making slow, even cuts. Measure and mark each piece of tile before you cut it to speed up the process and ensure accuracy.
Spacers
If you’re installing individual tiles, you will need small spacers to create a gap between each piece. Spacers come in various thickness levels, so pay close attention to your measurements to make sure you achieve the look you want.
Grout and Grout Float
Allow your newly installed tile to dry completely before you apply grout. Mix the grout according to the instructions, then apply it between all spaces using a rubber grout float. You may need to repeat this process until every crevice is evenly filled with grout. Wipe your tiles using a soft, damp cloth to remove any cloudiness left behind from the grout. Once this process is complete, allow the grout to dry before walking on the floors.
Whether you’re thinking about remodeling a bathroom or kitchen or you want a new look for your floors, herringbone tile adds elegance and style to any space. This unique pattern is returning to the forefront, so you can find herringbone products made of everything from glass to stone and porcelain. Choose your favorite colors and designs, and make sure you have fun as you work to transform your home.


