You might also like…


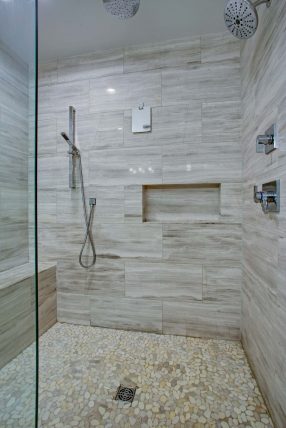
Stone tile is a popular material for the bathroom. This includes river rocks, which bring to mind a babbling brook paved in colored stones beneath a canopy of trees: beautiful, fresh, natural, and wild. What could be more appropriate than river rock for the shower floor, where you go to refresh, relax, and rejuvenate? According to this year’s design trends, pebble tiles are one of the most popular shower flooring options.
Here, we discuss how to install a river rock shower floor and look at some of the tile options and beautiful design possibilities available with pebble tiles.
What Are Pebble Tiles?
Pebble tiles are 12-inch by 12-inch mesh sheets with lots of river pebbles glued to it. The idea is that rather than individually placing hundreds of pebbles in a mosaic on the shower floor, you’re laying down a whole bunch of pebbles at once.
While pebble tiles definitely save time and effort, they come with one major down-side. If you’re not very, very careful, and sometimes even if you are, you’ll be able to see the seams where the tiles abut. Seams in pebble tiles distract from the overall effect of river rock, essentially ruining the installation. Happily, there’s a simple fix for this problem, although it comes with a heftier time commitment.
How to Install a River Rock Shower Floor
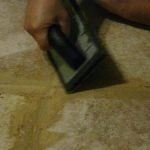
Only begin your tiling job once the plumbing is complete and you’re facing clean, dry concrete or a pre-fab shower pan. The floor should slope at least two inches toward the drain for proper drainage.
In order to prevent seams, but to preclude having to lay all the pebbles by hand, experts recommend a compromise: Lay the pebble tiles so that there are two inches between them on all sides. Fill in the gaps with individual pebbles that you’ve pulled off the backings of other tiles.
Step One: Apply Thinset
Work in areas no larger than three square feet. First, plop a scoop of thin-set in a back corner of the shower. Use a 1/4-inch notched trowel held at a 45-degree angle to spread the thin-set and create ridges that will help the tiles adhere. Use a high-quality, white thin-set from a tile store for the best possible results, or ask a tiling expert in your geographical area what they recommend. White thin-set is better to use than gray, which can discolor the pebbles.
Step Two: Lay the Pebble Tiles
Next, press the pebble tiles gently into the thin-set. Every pebble must make contact with the thin-set, but you don’t want to press down so hard that the pebbles touch the concrete beneath. Use loose pebbles to fill in the gaps between sheets, pressing them gently but firmly into the thin-set.
Continue this way until the river rock shower floor is completed.
Step Three: Seal the Pebbles
Use a sealer recommended by the tile manufacturer to seal the pebble tiles. This will preserve their color and help prevent damage due to minerals in the water. Allow the sealer to dry thoroughly before proceeding.
Step Four: Grout
Once the thin-set has set and the tiles are glued fast to the shower floor, it’s time to grout. Try not to walk on the shower floor until it’s been grouted.
For the grout, choose a standard cement grout or a high-performance cement grout. Be very careful with the high-performance variety, as it can set very quickly. Working in small areas and using a grout float, apply the grout to a section of tiles, taking care to get the grout in all of the joints. Let the grout set for a few minutes according to the instructions, then use a damp sponge to wipe the excess away, revealing the pebbles. Rinse the sponge often. Once the grout is completely dry, use a damp sponge, rinsing often, to remove the fine film left behind.
Step Five: Seal Again
When the grout is dry and the river rocks are free of film and gleaming like they’re wet, it’s time to seal again. Another coat of sealant further protects the pebbles, and it seals the grout. Once the sealant is dry, you can step on your river rock shower floor and start up the water.
River Rock Options
Not all river rock shower floors look like they came straight out of a fresh stream. River pebbles have many different looks, and pebble tiles are available in a range of colors, shapes, styles, and textures. Here are three examples of the diversity of pebble tiles.
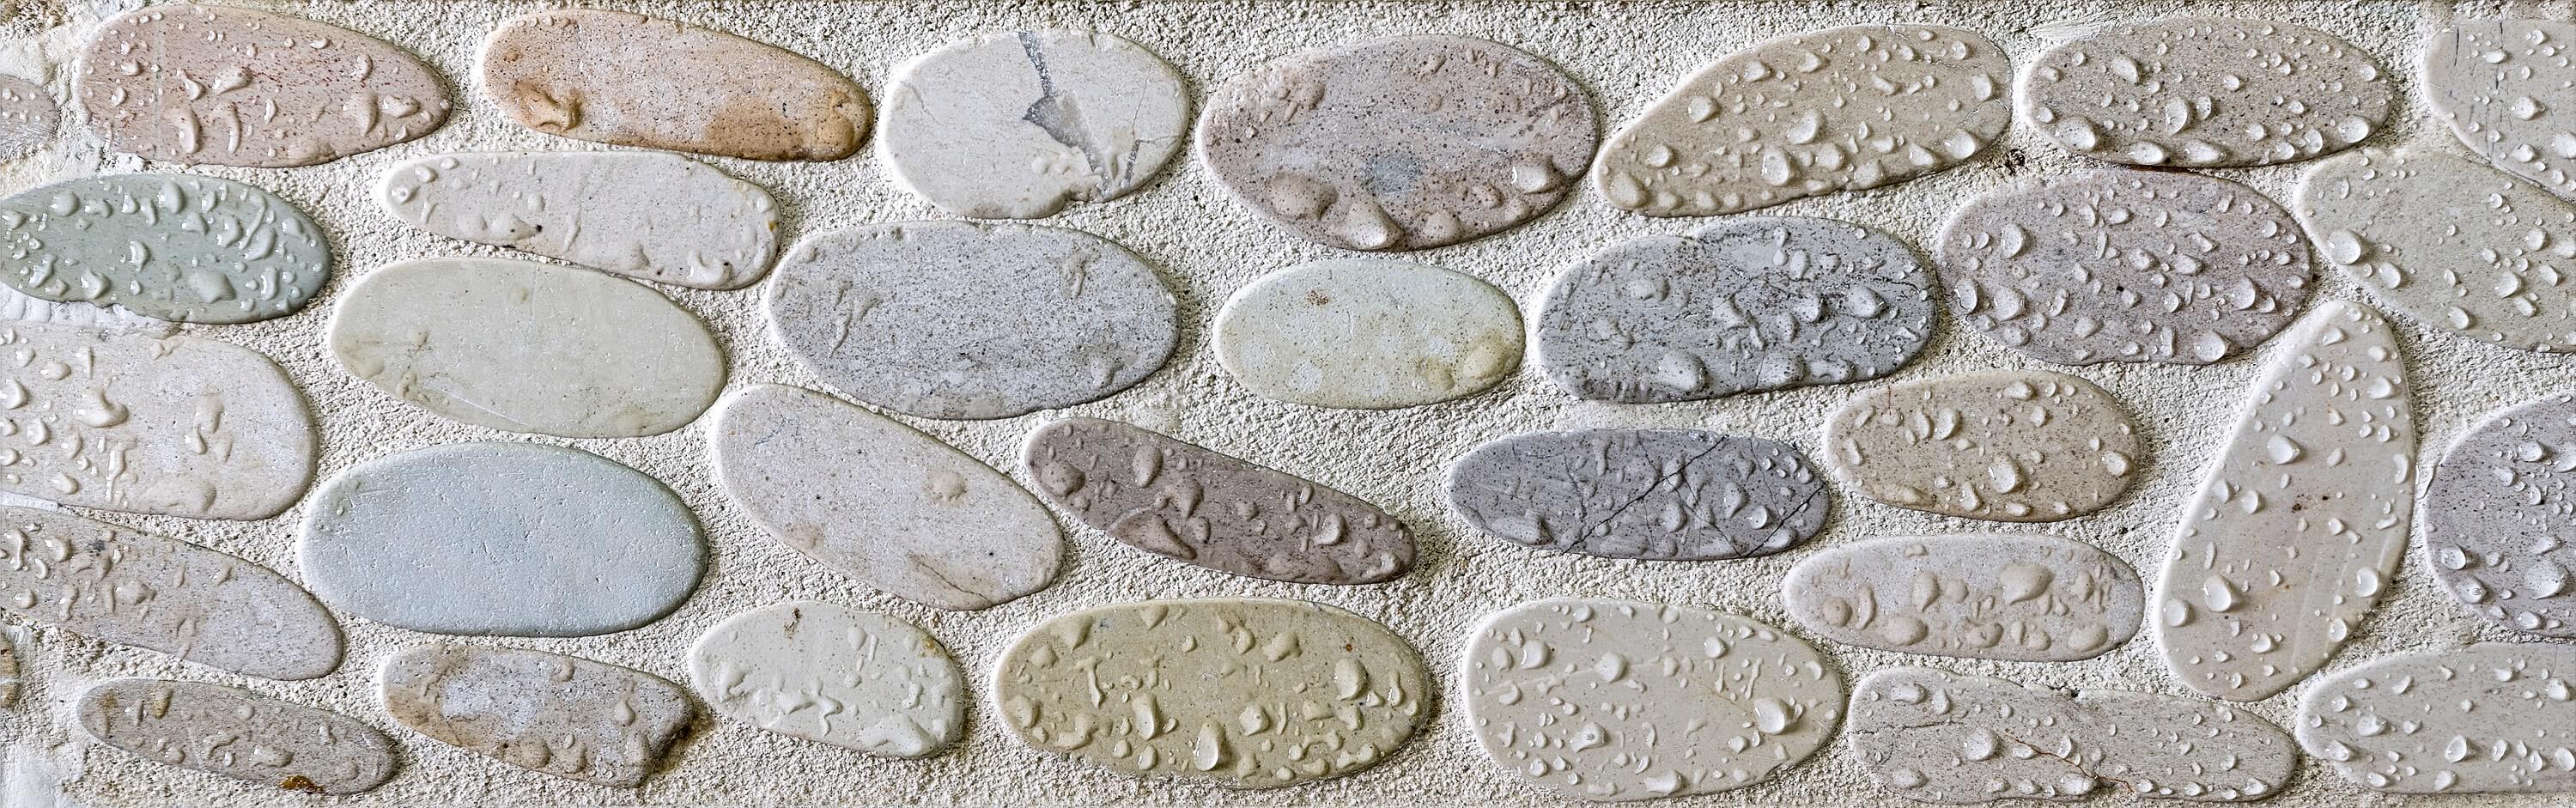
Sliced Sea Green and White Flat Pebbles
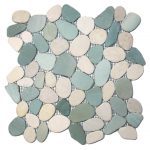
These flat pebbles are slices of river rocks. The flat profile makes them easier than rounded pebbles to install, grout, and clean. These sliced pebble tiles are also available in shades of tan and white.
Speckled Pebble Tile
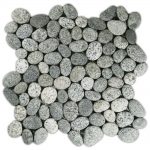
If you’re looking for a more monochromatic look, these speckled pebble tiles are various shades of gray with dark gray and black speckles. They’re also available in darker and lighter shades of gray and white.
Sliced Cobblestone Pebble Tile
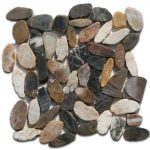
These natural stone tiles are sliced to reveal layers and veins, creating a luxurious look for a river rock shower floor. The individual slices range dramatically in color and include hues of orange, red, white, black, gray, and brown.
You can also find pebble tiles that are all one color, and you can find any number of combinations of colors to fit your decor.
Design Ideas for River Rock Shower Floors
If you’re creative and ambitious, you can create a pebble shower floor using individual pebbles. While this process will take some time, it can yield some stunning results, since you can manifest any design you have in mind. For example, use black pebbles for a border and white pebbles inside. Feature an all-white pebble floor with green, blue, or black pebble circles or spiral arms. Create swirling lines, depict the branches of a tree, or lay a floral mosaic. Your imagination is the only limit to what you can do with river rock.
A river rock shower floor can be as simple or as detailed as you wish. Bring a little nature into your bathroom, and it’ll be your favorite oasis in the house.


 (1 rating, average rating is 2.00/5)