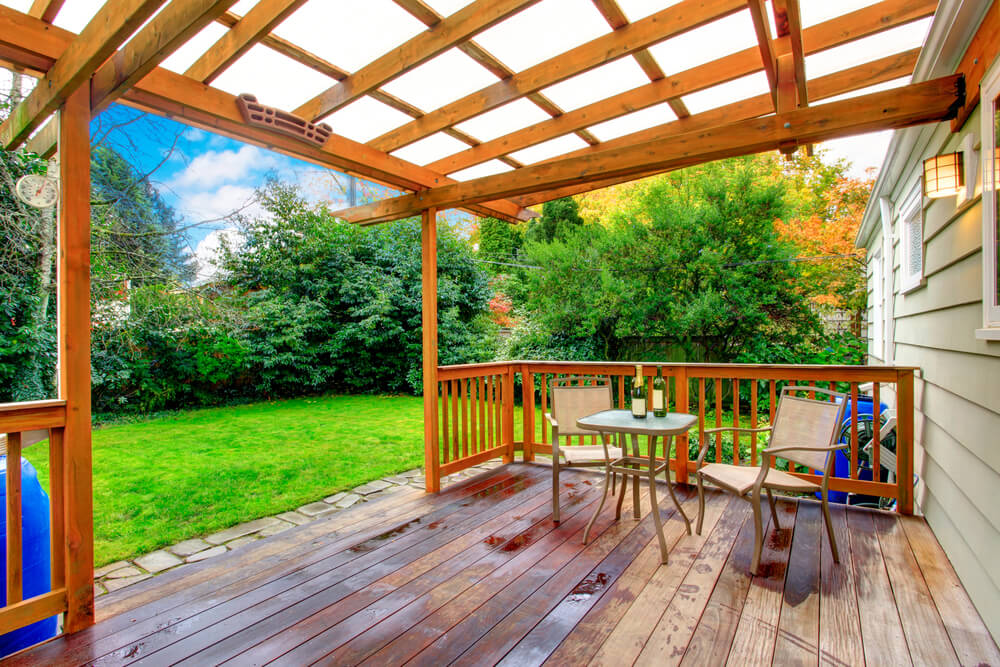
Winter brings on some rough weather conditions. Before you decide to use that as an excuse to put off repairs until next season, consider how small problems now can become much bigger after months of drastic temperatures, freezing conditions, and moisture. Winterizing your deck prolongs its life and reduces the potential for costly repairs come spring. Here’s what you should be doing.
STEP ONE: Remove dirt and debris
Don’t let piles of leaves, pine needles or branches clutter up the corners of your deck. They’ll trap moisture in those spots and promote rot. Sweep your deck clean.
STEP TWO: Trim any overhanging branches
If you have large branches hanging over your deck, assess their stability. If you’re in an area of the country that’s prone to ice, consider trimming them back before an ice storm can cause them to snap and plummet onto your deck and railings.
STEP THREE: Power wash
Before harsh winter weather, give your deck a good power wash to remove any heavy stains (like last summer’s barbecue) or mildew from the fall. No reason to let these nasties sit all winter long.
If you have an older wood deck, skip the power washing and use a bleach-free cleaner that will fade stains without yellowing your deck. Follow the directions on the bottle. If you have prized plants in the area, wet them before applying the cleaner to your deck. Some run off can damage plants.
Make sure you remove all mildew thoroughly. If it doesn’t come off with a standard cleaner, there are specially formulated ones that will do the trick.
STEP FOUR: The water test
To be sure that your deck will still repel the extra moisture that winter often brings, lightly coat your deck with water. A medium spray with the hose works well. Does water pool or soak into the planks? If it soaks in over the entire deck, it’s time to restain. If it soaks into the boards in some spots and beads up in others, you can spot treat your deck with a water proofer.
While you want the deck to repel water, it’s also important to note if the water pools in divots in some of the boards. If this happens, you may want to replace those boards. A plank that pools will continue to hold water and may be more prone to rot than other areas
STEP FIVE: Seal your wood deck
When was the last time you waterproofed or stained your wood deck? The frequency with which you have to do it depends on your climate, but it’s reasonably safe to assume if you can’t remember when you did it last, it’s probably time to think about doing it again. Of course, if you have composite or vinyl decking, you can relax. Well, you can relax after you’ve taken steps to …
STEP SIX: Store your deck furniture
Don’t leave your outdoor furniture out all winter unless you’ve been dying for an excuse to get a new set in the spring. Give it a good cleaning, and then store it in a garage, basement, or shed.
This applies to plant containers as well, especially ceramic ones. If you leave them outside all winter, they will crack. Empty them and move them to a garage or storage shed. If you have plants in them and want to bring them inside, make sure you check for pests first.
Part of your home
Taking the time to winterize your deck will prolong its life and lower the potential for costly spring repairs. After all, your deck is a part of your home even if you may use it less during the winter season. Taking care of it now will help to make a warmer welcome in the spring.


