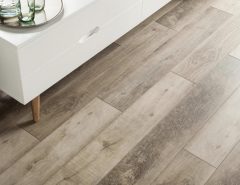
 When preparing to set and install tiles for flooring, there are some basic considerations. The first is figuring out how you would like the tile to lay. You need to decide if you want the tile set at an angle, if you are going to have a pattern, or if the tile flooring will lay in a basic block pattern. It will help to know what size of tile you are planning to install prior to making these decisions, as your measurements could be affected by different sizes of tile.
Here is a basic order that make your preparation in setting and installing tiles as streamlined as possible.
1. Clean the surface in question. The first step in preparing for setting and installing tile is to make sure that all the old flooring is removed. This would include old linoleum that might be peeling, or carpet and glue that could be present on the surface. Having debris on the floor could create a lifting of the thin-set adhesive later on, which can result in either wobbly tiles or tiles that crack because they are not fastened correctly. The cleaning can be done with scrapers, and a little bit of elbow grease.
2. Measure. This is a key step that needs to be done correctly so that the tiles follow a uniform pattern. Using a chalk line and measuring tape, find the center of the floor and chalk it in a straight line in whatever direction you want to lay the tile. This means that if you want a diagonal pattern measure corner to corner, finding the center. The center point is the important step to the equation because you will be working from the center to the outer walls. This way if there are any tiles that will need to be cut, they will be the tiles on the outside walls and around doors or cabinets, not in the center of the floor.
3. Decide the size of tile. After you have found the center of the room, and you have figured out how you would like the tile to lay, then you can choose the tile that you want. From here you will need to do a basic layout of the tile using the spacers that you have chosen. The spacers will determine the distance between tiles for grout, or you may choose to have no grout lines. Create a mock design, and either write it down or take a picture to help you remember the details.
4. Mix the thin-set adhesive. After you have all of your supplies, now you can begin to actually lay your tile. There are different types of thin set, and they are intended to have grabbing power. Find the one that you think will best suit your needs.
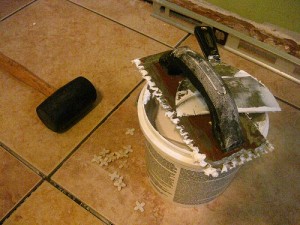
When you are ready to lay your tile you will spread your thin set on the floor, making sure to preserve your chalked lines. For larger tiles, make sure that you have a trowel with wider teeth. This is what will make the lined appearance in the mixture. The smaller tiles, say a 4x 4 inch tile, you will need a smaller trowel with teeth that are closer together. Make sure that there are no gaps when the tile is placed on the thin set as this can lead to a hollow sound and even cracking of the tile.
Make sure you have all of your areas well prepped before starting as this will make the project run quite smoothly. If you are unsure about what types of supplies you will need, you can always visit your local hardware store, or ask us here at BuildDirect for free samples and ideas.


